The quality is in the details.
Foundation- The test of time has proven to be a detrimental test to other competing foundations. Although we are also guilty of using these “tried and true” methods in the past we have adapted to new leading technologies.
Foundation Methods:
- The Ol’ In Concrete Post- One of the oldest in the book for deck and porch building is the ol’ 4×4 in the ground method. This method starts off with bringing a skid steer type piece of equipment with a large heavy drill attachment into the yard. The operator then will maneuver around to position himself in the right spot to drill each hole. The holes are then drilled with positive load applied from the machine. The operator will take the auger up periodically to remove excess spoils from the hole and continue to drill. Once the hole is completed they will insert a couple bags of concrete in the base of the hole. Then insert the 4”x4” post and continue to fill the hole with concrete a few inches below finished grade.
Pros
- Very cost effective.
Cons
- Substantial yard damage from the heavy equipment needed to complete the job.
- Typical landscape damage can be very costly and time consuming to repair.
- Very messy process.
- Decreased lifespan to post. Now the real big problem with this method is the lifespan of the decking and other materials chosen will easily outlive the lifespan of the post. These posts are prone to rotting at the concrete due to moisture being held or trapped by the concrete and the void it has created in the ground. These posts are also prone to insect damage and organic matter that can also feed on the wood over time.
- These foundations are a cylindrical concrete pier with a wood void that has been inserted. There is no real spread footing below. This means that if you have a 10” pier drilled your foundation is only as good as about 80” of foundation surface per pier. That is why it is so common for this type of foundation to sink down into the earth.
- With the wood being inserted into the concrete pier it takes 16” of area from the inner structural integrity of the post. The post is now taking %20 of the space away from the concrete, substantially decreasing its load capacity.
- It is very common on these piers for the void made by the wood to crack at the edges of the square wood and force the concrete to separate from the pier itself. We’ve seen before where the post has begun “slipping out from the concrete pier.
- Total load per pier is estimated at only 1215 pounds.
- The cost to remove a failed pier is massive. The pier would need to be excavated, extracted, backfilled, compacted and replaced.
- Pier number two is a solid concrete pier with an anchored galvanized post bracket attached. This method also starts off with bringing a skid steer type piece of equipment with a large heavy drill attachment into the yard. The operator then will maneuver around to position himself in the right spot to drill each hole. The holes are then drilled with positive load applied from the machine. The operator will take the auger up periodically to remove excess spoils from the hole and continue to drill. Once the hole is completed they will completely fill the hole with concrete all the way to the finished grade. Once finished the crew will then let the concrete setup fully to be able to anchor their galvanized post bracket to the top of the finished pier. It is very important to finish the concrete extremely level so that the posts applied load will sit with 100% surface area on the bracket itself. This will distribute the weight evenly and apply the load as specified.
Pros
- More cost effective.
- Solid concrete pier placed down below frost level.
- More easily adjusted if the post is to sink or heave.
Cons
- Substantial yard damage from the heavy equipment needed to complete the job.
- Typical landscape damage can be very costly and time consuming to repair.
- Very messy process..
- These foundations are a solid cylindrical concrete pier. This foundation pier too is only as good as about 80” of foundation surface per pier. That is why it is also common for this type of foundation to sink down into the earth.
- Total load per pier is estimated at only 1650 pounds.
- Helical Piers. This pier has been adopted as the only method we are currently installing on top of. The installation of this foundation method starts off with bringing low ground impact equipment into your backyard. Think of this machine as a mighty machine with a riding lawn mower impact on your yard. The machine is set into place and hooks directly onto the helical pier that will be “turned” into the ground as if you were installing a screw into wood. The machine once set will not move or need to remove spoils from the ground. It simply drills the Pier into the ground leaving the ground appear undisturbed.
Pros
- No harm to the lawn and landscapes. Saving you time to enjoy your addition and keeping money in your pocket.
- It is an engineered system that is installed with local soil specific data to exceed the specifications of the job.
- We are able to install and build on the foundation same day with no waiting for cure time as you would with concrete.
- After the install you receive a field report with the specific installation data, the loads each pier will be able to withstand, depth of post, the torque the post was installed at and where each post is located on the job. There is no guessing, we are 100% certain our piers will exceed the requirements of the foundation.
- Additional warranty from a nationwide company.
- Very simply to replace and adjust. A helical pier can be simply unscrewed out of the soil to have a new one installed back in with a very low cost compared to the other foundations mentioned above.
- Over 200sq inches of footing surface area. This is near triple the footprint of a 10” concrete pier.
Cons
- A little more upfront cost.
What sets us apart with structural integrity:
- We are very knowledgeable with connection points and the components that are critical to the structural integrity in whole. We know there is a bracket or tie that will be the proper connection to a quality structure.
- The connecting board that joins the deck to the house is called the ledger board. This connection is always overlooked. With extensive home building and framing in our backgrounds we say we have almost x-ray vision when looking at a house. It’s important to know the steps, spacing and look of a common floor truss package previous to installing a legerboard. We’ve been called to look at a deck that was separating from the house to find the contractor found one truss with his hammer and attached the rest at 16” oc after that. Floor trusses are commonly installed in what we call a 19 diamond oc or 2′ oc. The 19 diamond reference is actually 19-3/16ths of an inch on center. This layout will always have a 2”x4” rim board along the top section to attach the floor system together.
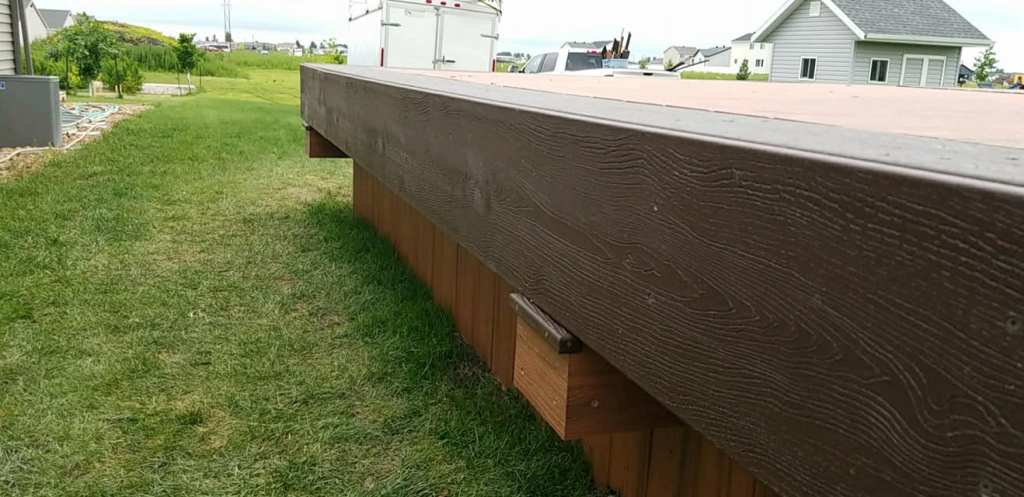
- Board selection and how the boards are placed is also key to a structure and how it will function. Selecting and using high quality lumber is equally as important as the foundation itself. It might all start at the foundation, but the want to achieve the highest quality doesn’t stop there.
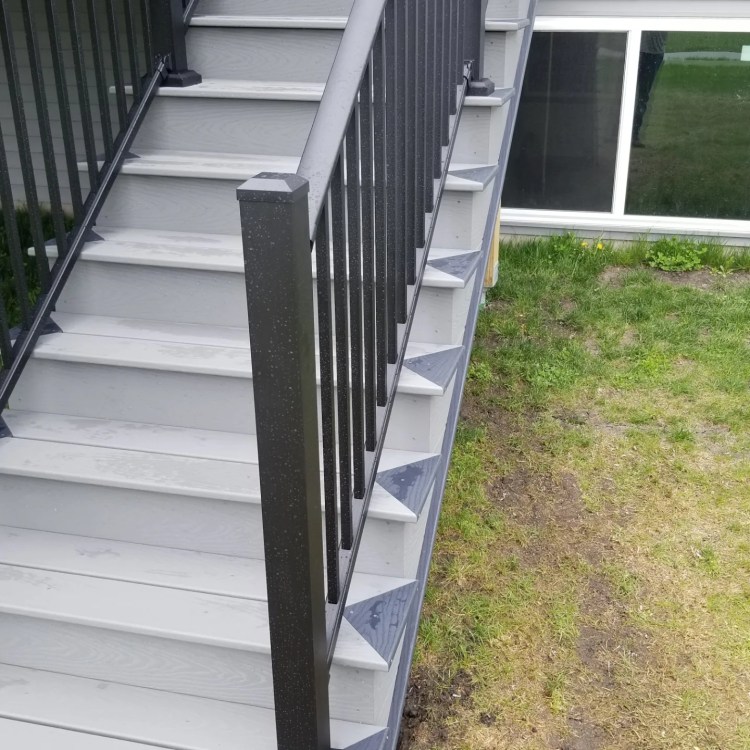
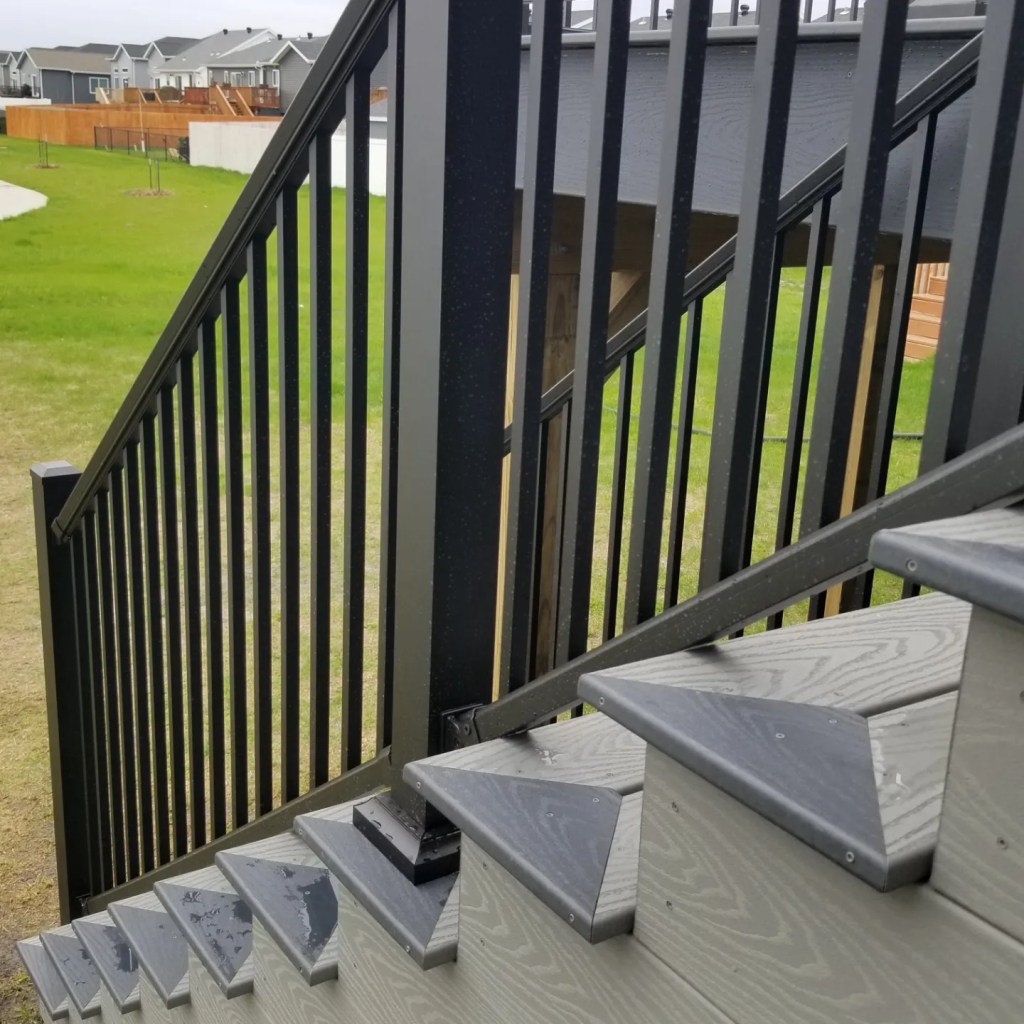
- We don’t use 4”x4” posts. Every single post installed on any structure we build is a minimum of 6”x6”. We believe in recessing our structural beams into the posts and bolting directly through the header and post. This ensures the load of the structure is directly applied to the post itself in turn being directly applied to the pier below.
- With every structure over 6’ in length it is a requirement of ours to add mid span joist blocking that prevents joist bounce and adds rigidity to long joist spans. Blocking additionally prevents joists from moving or twisting as the pressure treated lumber seasonally expands and contracts with time. This ensures minimal movement and minimal stress on all components extending the life of the structure.
- Corner blocking and bracing is also crucial to the structural integrity of the structure. With wind being a constant in our conditions, installing 45 degree blocking is oftentimes required. The blocking is much like the mid span blocking but this blocking is installed at a 45 degree angle in the corners.
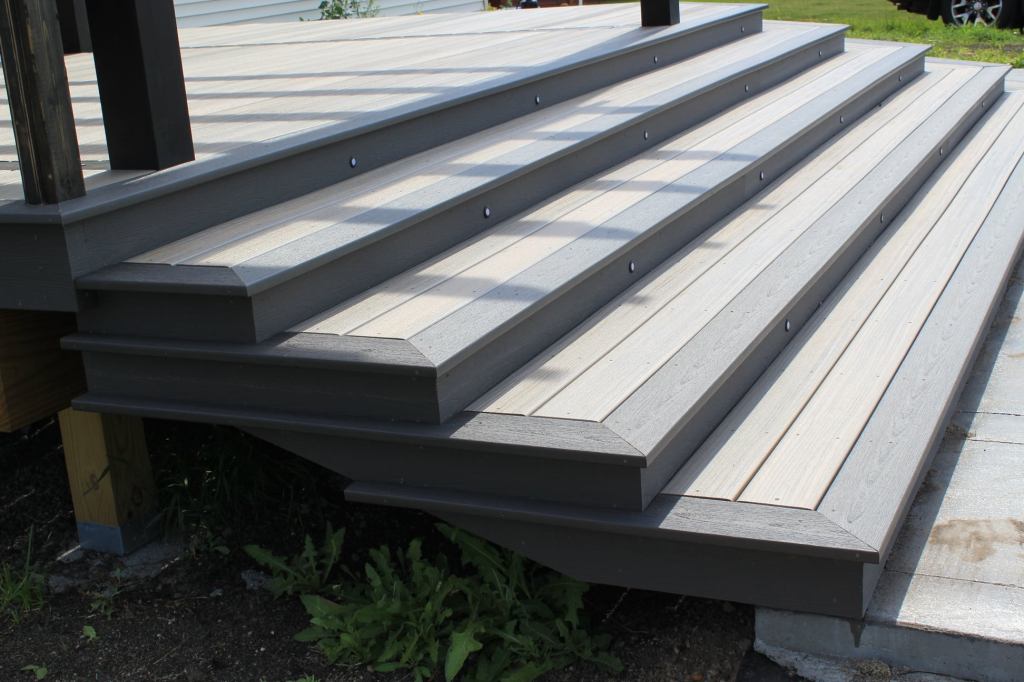
What sets us apart in the final touches:
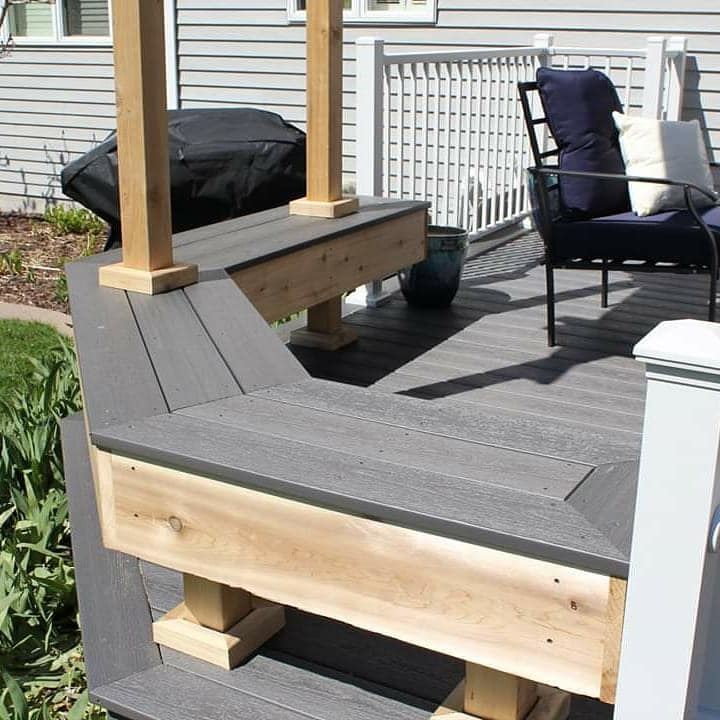
- Our composite decks come standard with a picture frame band board that goes around the perimeter of the deck. This look has become almost a signature. With the additional blocking we add to each structure it is almost effortless to just install the picture frame, so we do.
- We take great pride in where each fastener is placed and how that affects the overall look of the project. Everything we do is extremely uniform and aesthetically pleasing.
- When we build a deck we put great thought into the process and how we can place material so you never see a cut end or unfinished board. These projects aren’t just your deck, no matter the size of the project they are somewhat a work of art on our end.
- Layout of the deck boards and how those boards will end is also a major pet peeve to us. There is nothing worse than looking at a deck and seeing a 2” board ripped down because the layout was either overlooked or goofed up. We have a process to build that ensures your deck will be complete and uniform upon completion.
- We are extremely knowledgeable in the materials and what we can do with them. We know how to fasten and glue certain joints, where to use certain materials and installation procedures that we have gained over the many many years we have been building. With this experience and knowledge we can always achieve a lasting timeless look.
Thank you for taking the time to educate yourself on us, how we do things and what you can expect from hiring us. We appreciate your interest in having us lead your project from ideas to successful completion. We look forward to working with you.